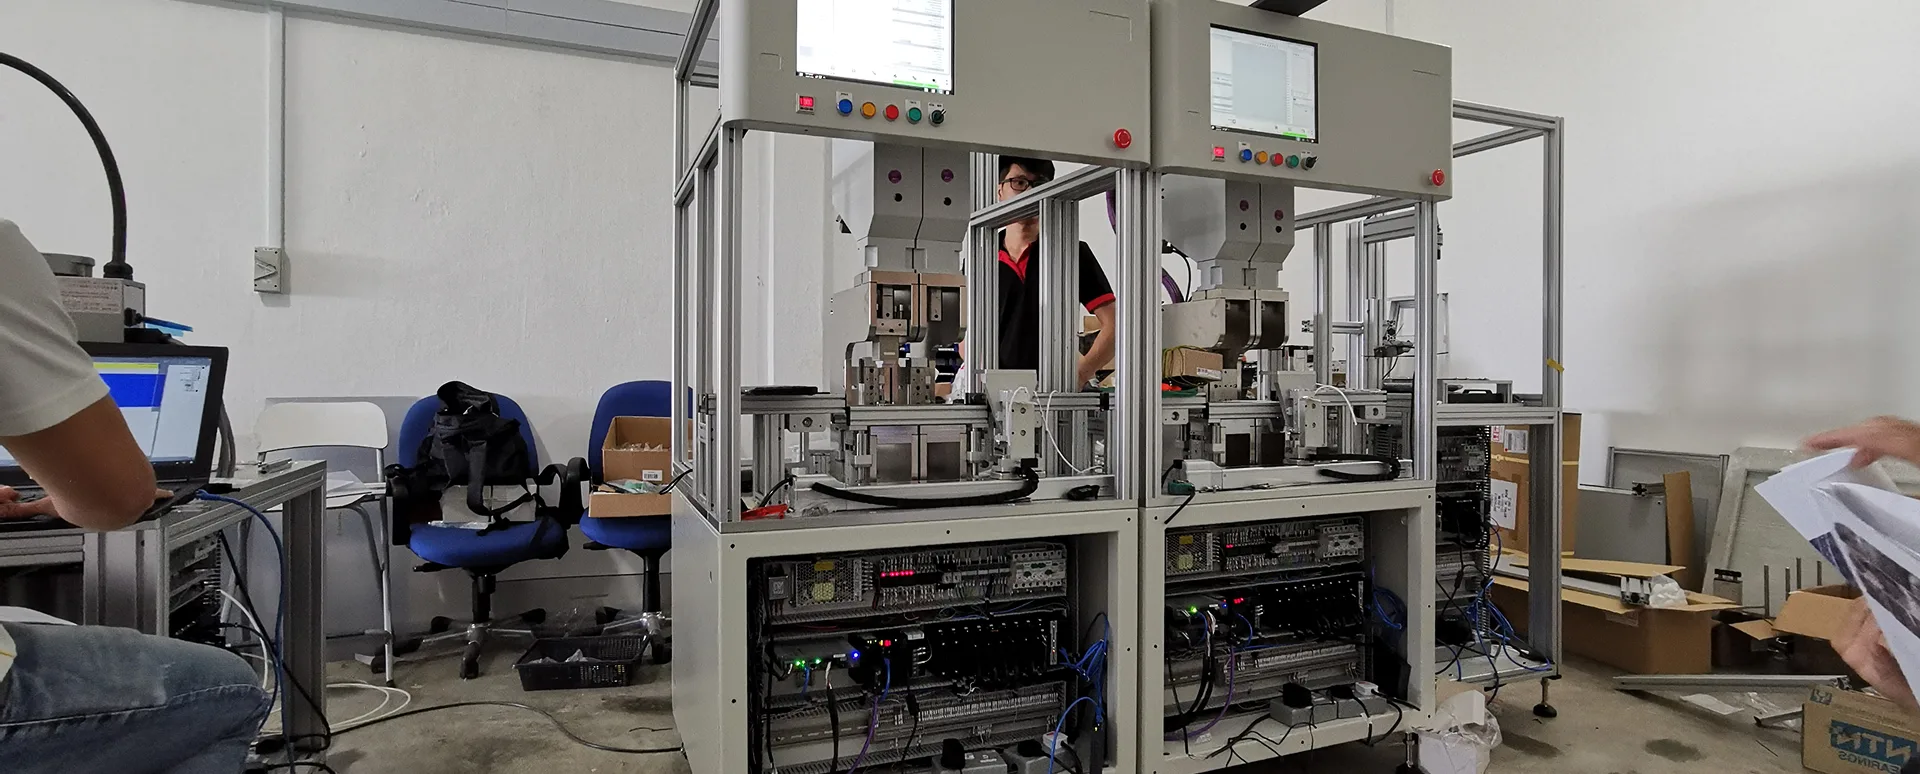
Pneumatic press machines are vital in many Malaysian factories, from automotive and electronics assembly to medical device and industrial production. Setting up and calibrating a pneumatic press machine properly ensures reliable performance, product quality, and operator safety. This comprehensive tutorial provides a step-by-step guide tailored for production technicians, maintenance engineers, and manufacturing supervisors in Malaysia looking to optimise their pneumatic press operations.
Understanding Pneumatic Press Machines and Their Role in Malaysian Manufacturing
Pneumatic press machines use compressed air to generate force for pressing, forming, assembling, or joining components. With the right setup and calibration, these systems deliver consistent, repeatable results in high-mix, low-volume, or mass production environments. Malaysian factories across automotive, electronics, medical, and aerospace sectors rely on pneumatic presses for tasks such as bearing insertion, connector assembly, staking, crimping, and more.
To maximize productivity and maintain quality standards, it is critical to follow a structured setup and calibration process. This not only protects your investment but also supports traceability, safety, and compliance requirements.
Step 1: Preparation and Pre-Installation Checks
Before installing your pneumatic press machine, conduct a thorough site and equipment assessment:
- Review Factory Layout: Ensure you have sufficient space, access to compressed air supply, and safe operator zones.
- Check Power & Air Supply: Confirm that air compressors, power outlets, and utility lines meet the press machine’s specifications.
- Inspect Components: Unpack and verify all components, including the press body, control unit, safety guards, hoses, fittings, and calibration tools.
- Read Documentation: Familiarise yourself with the manufacturer’s manual, safety instructions, and setup requirements.
Tip: Proper preparation reduces setup delays and helps identify potential issues early.
Common Mistakes in Preparation
- Overlooking small but critical components, such as seals or fasteners, which may delay installation.
- Failing to verify air supply quality—oil, moisture, or particulates can lead to premature equipment wear.
- Not planning for future maintenance space, which can complicate repairs or adjustments later.
Mitigating these risks at the preparation stage leads to smoother downstream processes and fewer unplanned stoppages.
Step 2: Mechanical Installation and Positioning
Positioning and mechanical setup lay the foundation for safe and efficient press operation:
- Mount the Press: Secure the machine on a stable workbench or dedicated stand. Use anti-vibration pads if recommended.
- Level the Unit: Use a spirit level to ensure the press is perfectly horizontal. This prevents uneven force and premature wear.
- Attach Safety Guards: Install all required safety shields, light curtains, or interlocks in accordance with Malaysian safety regulations.
- Connect the Air Supply: Attach air hoses to the supply and machine inlet. Check for leaks using soapy water or a leak detector.
- Install Tooling and Fixtures: Fit the correct punch, die, or custom tooling. Ensure all fasteners are torqued to the manufacturer’s spec.
Take care during installation—improper mounting or alignment can cause calibration issues later on.
Checklist for Successful Installation
- Verify that machine anchoring bolts are torqued to specification.
- Ensure hoses and cables are routed to avoid tripping hazards or pinch points.
- Confirm all safety guards are in place and unobstructed.
- Double-check tool compatibility and that no debris is present in the mounting area.
Step 3: Electrical and Pneumatic Connections
With mechanical installation complete, proceed with the electrical and pneumatic setup:
- Power Connection: Connect the control unit to the power supply. Ensure the voltage and phase match machine requirements.
- Pneumatic Controls: Set up the air pressure regulator, filter, and lubricator if required. Clean and dry compressed air extends machine life.
- Emergency Stop & Interlocks: Test all safety interlocks, emergency stops, and enable switches for correct operation.
- Controller Integration: If using programmable logic controllers (PLC) or MES integration, connect communication cables as per your system design.
Follow a checklist approach to avoid missing critical setup steps. Engage qualified personnel for electrical work, as required by local regulations.
Safety Considerations
- Always lock out and tag out electrical sources before working on connections.
- Use only certified cables and connectors to avoid short circuits or fire risks.
- Check for air leaks after pneumatic connections—leaks not only reduce efficiency but can also pose safety risks.
Step 4: Initial Functional Testing and Safety Verification
Before calibration, perform initial machine checks and safety verifications:
- Power On: Start up the pneumatic press. Observe for abnormal sounds, vibrations, or leaks.
- Cycle Test: Run the press through a few manual and automatic cycles without a workpiece. Confirm smooth and controlled motion.
- Safety Device Check: Test all safety devices including guards, emergency stops, and light curtains. The press should not operate if any safety device is triggered.
- Pressure Regulation: Adjust air pressure to the recommended operating range. Monitor the regulator and pressure gauge.
- Documentation: Record all test results and sign off on safety compliance checklists.
Do not proceed to calibration until all safety and functional checks are passed.
What to Do If Failures Occur
- If a cycle test fails, immediately isolate the fault—common causes include wiring errors, insufficient air pressure, or stuck actuators.
- If safety device checks fail, do not bypass or disable them. Instead, replace or repair the faulty component according to safety regulations.
- Document every failure and corrective action for continuous improvement and audit purposes.
Step 5: Calibration of the Pneumatic Press Machine
Calibration ensures the press delivers the required force, stroke length, and repeatability. Follow these steps:
- Gather Calibration Tools: Use a calibrated force gauge, dial indicator, or displacement sensor as required for your machine model.
- Set Zero Point: With no load, set the press stroke to its zero or home position. Reset counters and displays.
- Force Calibration: Place the force gauge between the press ram and base. Apply gradual pressure and record readings at incremental steps. Adjust the regulator or controller until the displayed force matches the gauge readings within the specified tolerance.
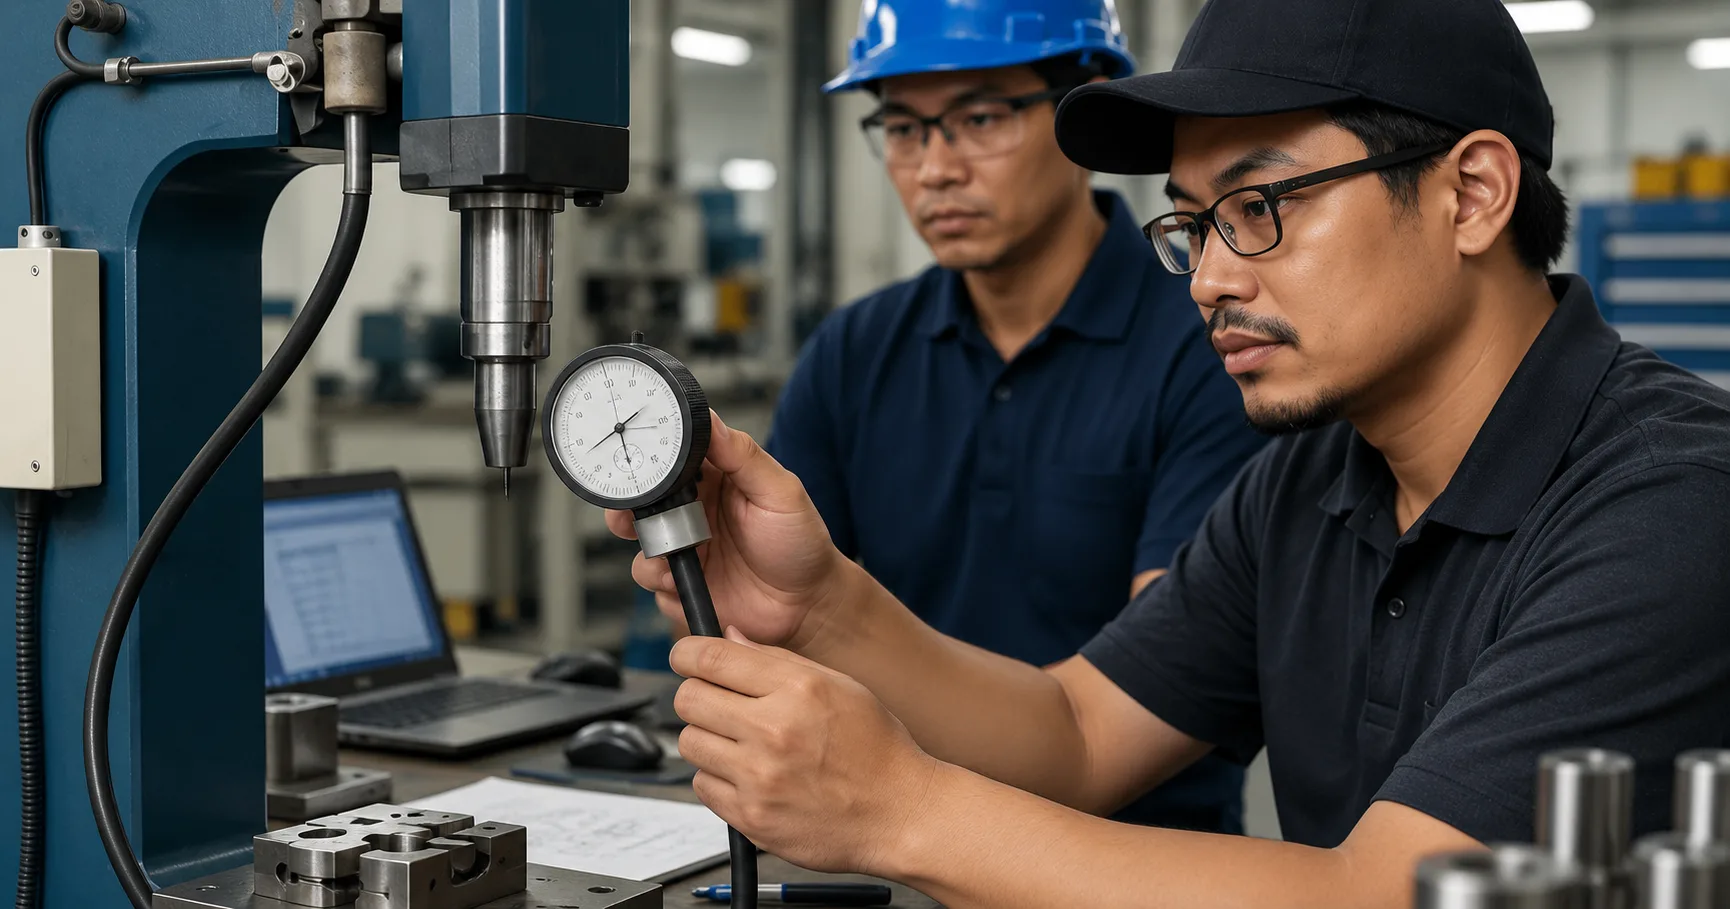
- Stroke Calibration: Use a dial indicator to measure ram travel. Calibrate the machine to ensure the programmed stroke length matches the actual movement.
- Repeatability Test: Run multiple cycles and check the force and stroke at each cycle. Consistent readings indicate proper calibration.
- Save Calibration Settings: Store the calibration parameters in the press control unit or MES system for traceability.
Expert Tip: Calibration should be performed by trained personnel using certified instruments to ensure compliance with your factory’s quality standards.
Advanced Calibration Scenarios
- If your press is used for multiple product types, save calibration settings for each SKU in your MES or machine memory.
- For high-precision applications, consider temperature compensation or sensor calibration traceable to national standards.
- Schedule periodic inter-laboratory calibration checks to ensure your force gauges remain accurate over time.
Step 6: Process Validation and Sample Production
After calibration, validate the press process with representative parts and document the results:
- Run Sample Batches: Process several parts to confirm correct force, alignment, and assembly quality.
- Inspect Output: Visually inspect, measure, and test the pressed parts for defects or variation.
- Adjust as Needed: Fine-tune calibration or machine parameters if deviations are observed.
- Document Validation: Record validation data for each part and maintain traceability records, especially for automotive or medical applications.
- Operator Training: Train machine operators on the correct loading, operation, and safety protocols.
Validation ensures the pneumatic press machine is ready for full-scale production and meets customer and regulatory requirements.
Best Practices for Process Validation
- Use statistically relevant sample sizes when testing new setups.
- Employ measurement systems analysis (MSA) to confirm the reliability of your inspection tools.
- Solicit operator feedback after trial runs to capture any ergonomic or practical issues not evident in technical tests.
Step 7: Ongoing Maintenance and Recalibration Practices
Regular maintenance and scheduled recalibration are essential to keep your press performing optimally:
- Daily Checks: Inspect air pressure, lubrication, and safety devices before each shift.
- Preventive Maintenance: Clean filters, replace worn parts, and check for leaks on a weekly or monthly basis.
- Scheduled Recalibration: Set a calibration schedule (quarterly or as required) to maintain accuracy and traceability.
- Documentation: Maintain logs of maintenance and calibration activities for audit and compliance.
- Technical Support: Engage local engineering support, such as Preston Technology SDN. BHD., for troubleshooting, spare parts, and advanced diagnostics.
Proactive maintenance reduces downtime, extends equipment life, and safeguards process quality.
Maintenance Mistakes to Avoid
- Neglecting daily checks, which allows minor issues to become major failures.
- Using non-genuine replacement parts, which can compromise both safety and accuracy.
- Failing to update maintenance logs, resulting in lost traceability and audit risks.
Practical Example: Calibrating a Pneumatic Press for Automotive Connector Assembly
Consider a Malaysian automotive supplier using a pneumatic press for connector pin insertion:
- Preparation: The technician reviews the part drawing and required insertion force (e.g., 2.5 kN).
- Setup: The press is installed on an anti-vibration workbench with safety guards and an air supply regulated to 6 bar.
- Calibration: Using a certified force gauge, the press is cycled and adjusted until the insertion force consistently matches the specification.
- Validation: Sample connectors are assembled, and the results are verified for correct fit and no damage.
- Documentation: Calibration and validation data are logged into the factory MES for traceability.
This practical approach ensures reliable, repeatable production quality while meeting customer and regulatory standards.
Expanded Case Study: Electronics Industry Application
In a Penang-based electronics factory, a pneumatic press is used for PCB staking. After following pre-installation and mechanical setup steps, the team:
- Verifies press alignment to micrometer accuracy, as component placement is critical.
- Calibrates force output using a digital load cell and confirms stroke with a laser displacement sensor.
- Conducts repeated sample runs, analyzing both yield and any micro-cracks in the PCB.
- Documents all measurements and configures alerts for out-of-spec results in their MES.
- Implements a monthly recalibration and inspection cycle due to tight industry tolerances.
This example highlights the flexibility of pneumatic presses across industries and the importance of industry-specific calibration and validation.
Common Challenges and Troubleshooting Tips
- Inconsistent Force Output: Check for air leaks, worn seals, or incorrect regulator settings.
- Irregular Stroke: Inspect for mechanical misalignment, damaged guides, or improper calibration.
- Safety Device Faults: Test and replace faulty guards, sensors, or interlocks immediately.
- MES Connectivity Issues: Verify communication cables and software integration for traceability.
- Operator Training Gaps: Provide refresher training and clear work instructions to maintain safe and efficient operation.
Consistent troubleshooting and support from experienced providers help maintain manufacturing efficiency and uptime.
Scenario Analysis: When Things Go Wrong
If a press suddenly delivers less force than expected during production:
- Pause production and check for air leaks at all connectors and hoses.
- Inspect the main cylinder for oil contamination or seal wear.
- Review recent MES logs for any abnormal readings or warnings.
- Confirm that the correct calibration profile is loaded on the controller.
- If issues persist, escalate to technical support or the OEM for immediate resolution.
Root cause analysis and rapid response are essential to minimize downtime and protect product quality.
Conclusion: Ensuring Success with Pneumatic Press Machines in Malaysia
Following a structured process for setting up and calibrating your pneumatic press machine will deliver tangible benefits for Malaysian factories. These include improved product quality, reduced scrap, enhanced traceability, and safer working conditions. Partnering with local engineering specialists ensures ongoing technical support, access to spare parts, and training for your team.
For further reading on related technologies, explore our article on supporting Malaysian manufacturing with air tools and transducerised screwdriver solutions. Those interested in smart manufacturing trends should see Penang Industrial Master Plan 2030: Ushering a New Era for Smart Manufacturing in Malaysia.
Remember, proper setup and calibration are essential steps in leveraging the full potential of a Pneumatic Press Machine Malaysia for your production line.
Practical Preparation Before Execution
Before moving forward, document the target audience, budget range, delivery standards, and owner for every important action. Start with a controlled small-scale test, record quality, timing, exceptions, and customer feedback, and expand only when the evidence supports it.
- Confirm requirements, specifications, quantities, and acceptance criteria.
- Keep quotation, sample, delivery, and support records together.
- Assign an owner and a clear review date.
- Adjust the plan when sales or inventory signals change.
Reducing Execution Risk
A dependable process anticipates delays, quality variation, excess inventory, and communication gaps. Define alternatives for critical steps and agree on the conditions that require a pause or review. After each cycle, compare cost, handling time, returns, and customer feedback so the next improvement is based on evidence.
Improving from Measured Results
Review performance across channels, audience groups, and time periods instead of relying on one headline result. Turn successful practices into repeatable steps while keeping enough flexibility to respond to market changes and new information.
Frequently Asked Questions
What are the key steps to calibrate a pneumatic press machine in Malaysia?
Key calibration steps include setting the press to its zero position, using a certified force gauge to adjust force output, verifying stroke length with a dial indicator, performing repeatability tests, and saving calibration parameters for traceability. Always follow the manufacturer’s instructions and local factory safety standards.
How often should a pneumatic press machine be recalibrated?
Recalibration frequency depends on production volume and quality requirements, but most manufacturers recommend scheduled recalibration quarterly or after any major maintenance. High-precision or regulated industries may require more frequent checks to ensure consistent performance.
What common issues can affect press calibration and how can they be resolved?
Common issues include air leaks, worn seals, misaligned tooling, and faulty regulators. To resolve them, inspect and replace worn parts, check for leaks, verify correct air pressure, and recalibrate the press. Regular preventive maintenance helps avoid calibration drift.
Is it necessary to document calibration and validation processes?
Yes, documentation is essential for traceability, audit compliance, and process improvement. Calibration records should include date, parameters, results, and technician signatures. For regulated industries, these documents are often required by customers or authorities.
Can Preston Technology SDN. BHD. provide on-site support for pneumatic press setup and calibration?
Absolutely. Preston Technology SDN. BHD. offers engineering support, preventive maintenance, calibration, and training services for pneumatic press machines and industrial assembly systems across Malaysia and Southeast Asia. Their local expertise ensures fast response and reliable technical assistance.
Need Expert Help with Pneumatic Press Setup and Calibration?
Optimise your factory’s performance and ensure compliance with professional setup, calibration, and maintenance support from Preston Technology SDN. BHD. Our local engineering team specialises in pneumatic press machines, precision assembly, and MES integration for Malaysian manufacturers. Get reliable, hands-on assistance tailored to your production needs.
Contact Preston Technology for Press Solutions